Flexible and powerful admin dashboards for any Ruby on Rails application! The Administrate gem is an easy to setup framework for giving your application some much needed robust administration capabilities.
Get Rails Started
If you already know how to put together a basic Rails application, skip this part. Otherwise, consider this a quick tutorial on setting Rails up. I’m going to just throw a bunch of code out here. I suggest reading up on Rails in this great starter tutorial for greater detail about what you’re doing.
Make sure you have Rails installed. At your command line type the following:
gem install rails
rails new admin_test
Above we installed Rails, and created a new Rails application in the directory admin_test, which should now be inside of whatever directory you were at in your command line. Rails will scaffold a lot of files into that directory. For testing out Administrate let’s create a quick User model to play with. Move into your new directory and type this:
rails generate model User username:string password:string
The above will create all of the new files associated with the User model, and also create a database migration to create a Users table with the columns username and password. Run the following next:
bundle exec rake db:migrate
That will run the database migration that was created as part of the model. Again for more detail on all of the above terminology, please see some basic Rails tutorials!
Let’s Administrate
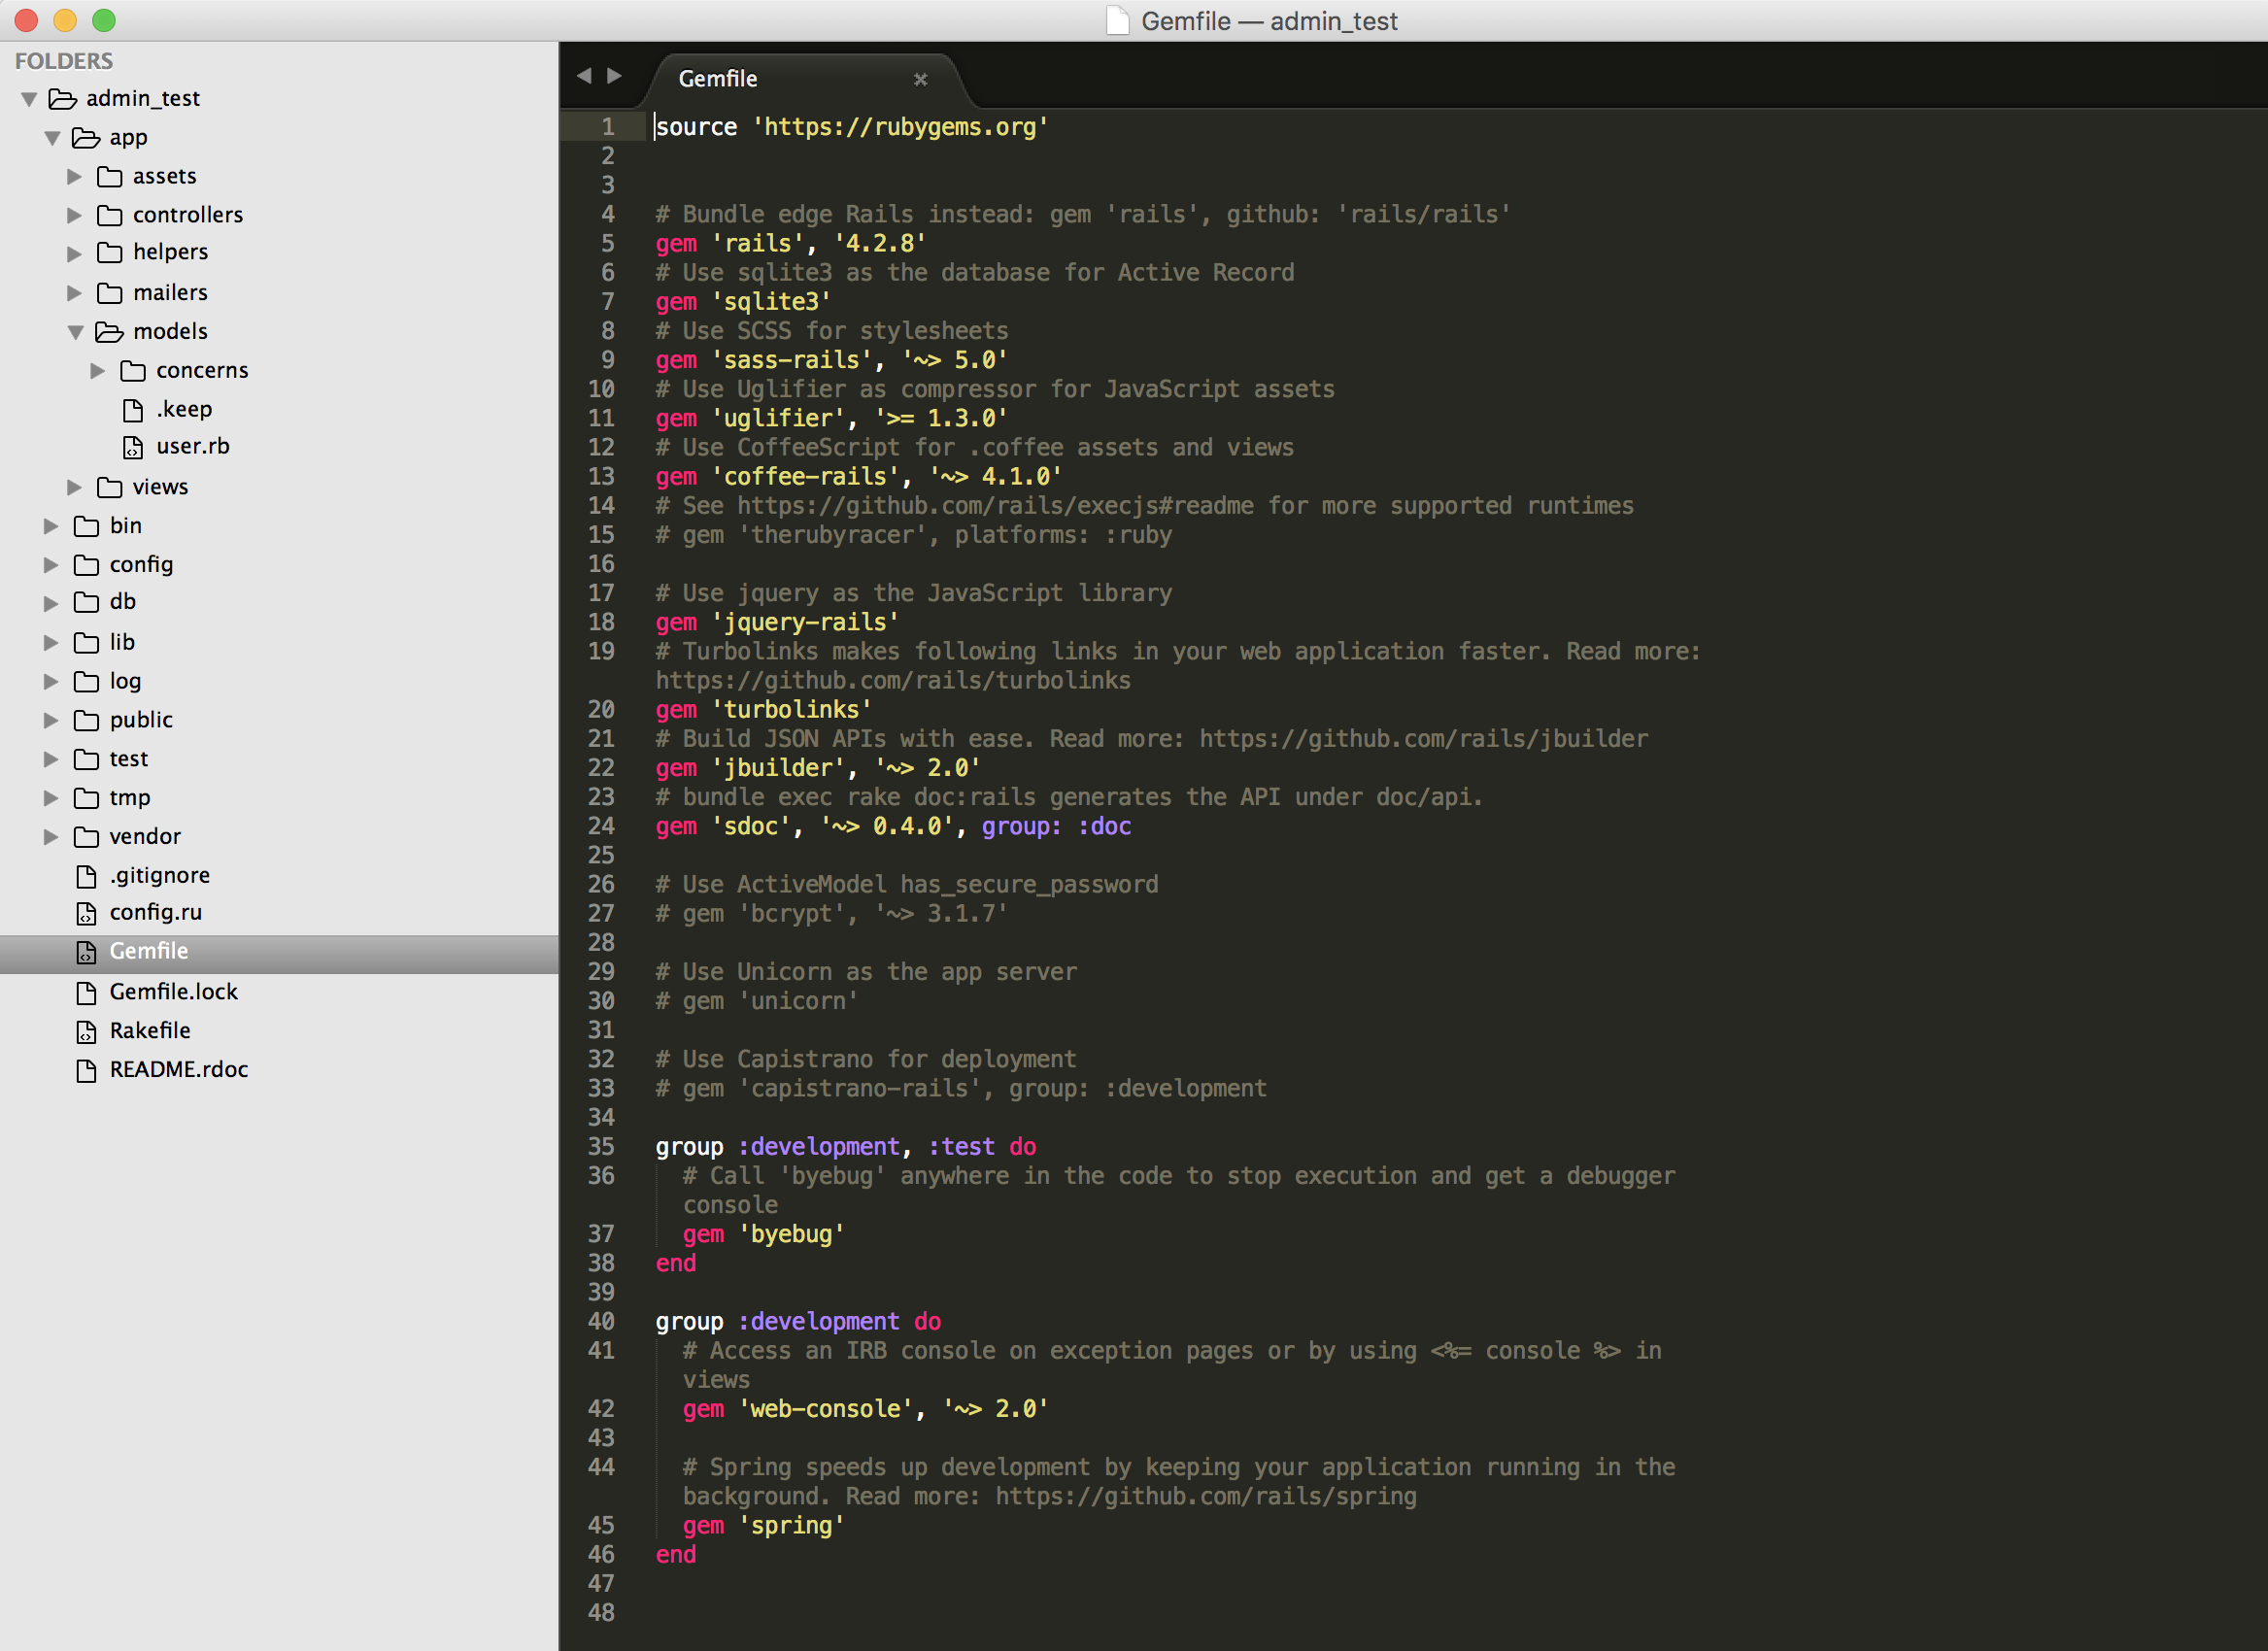
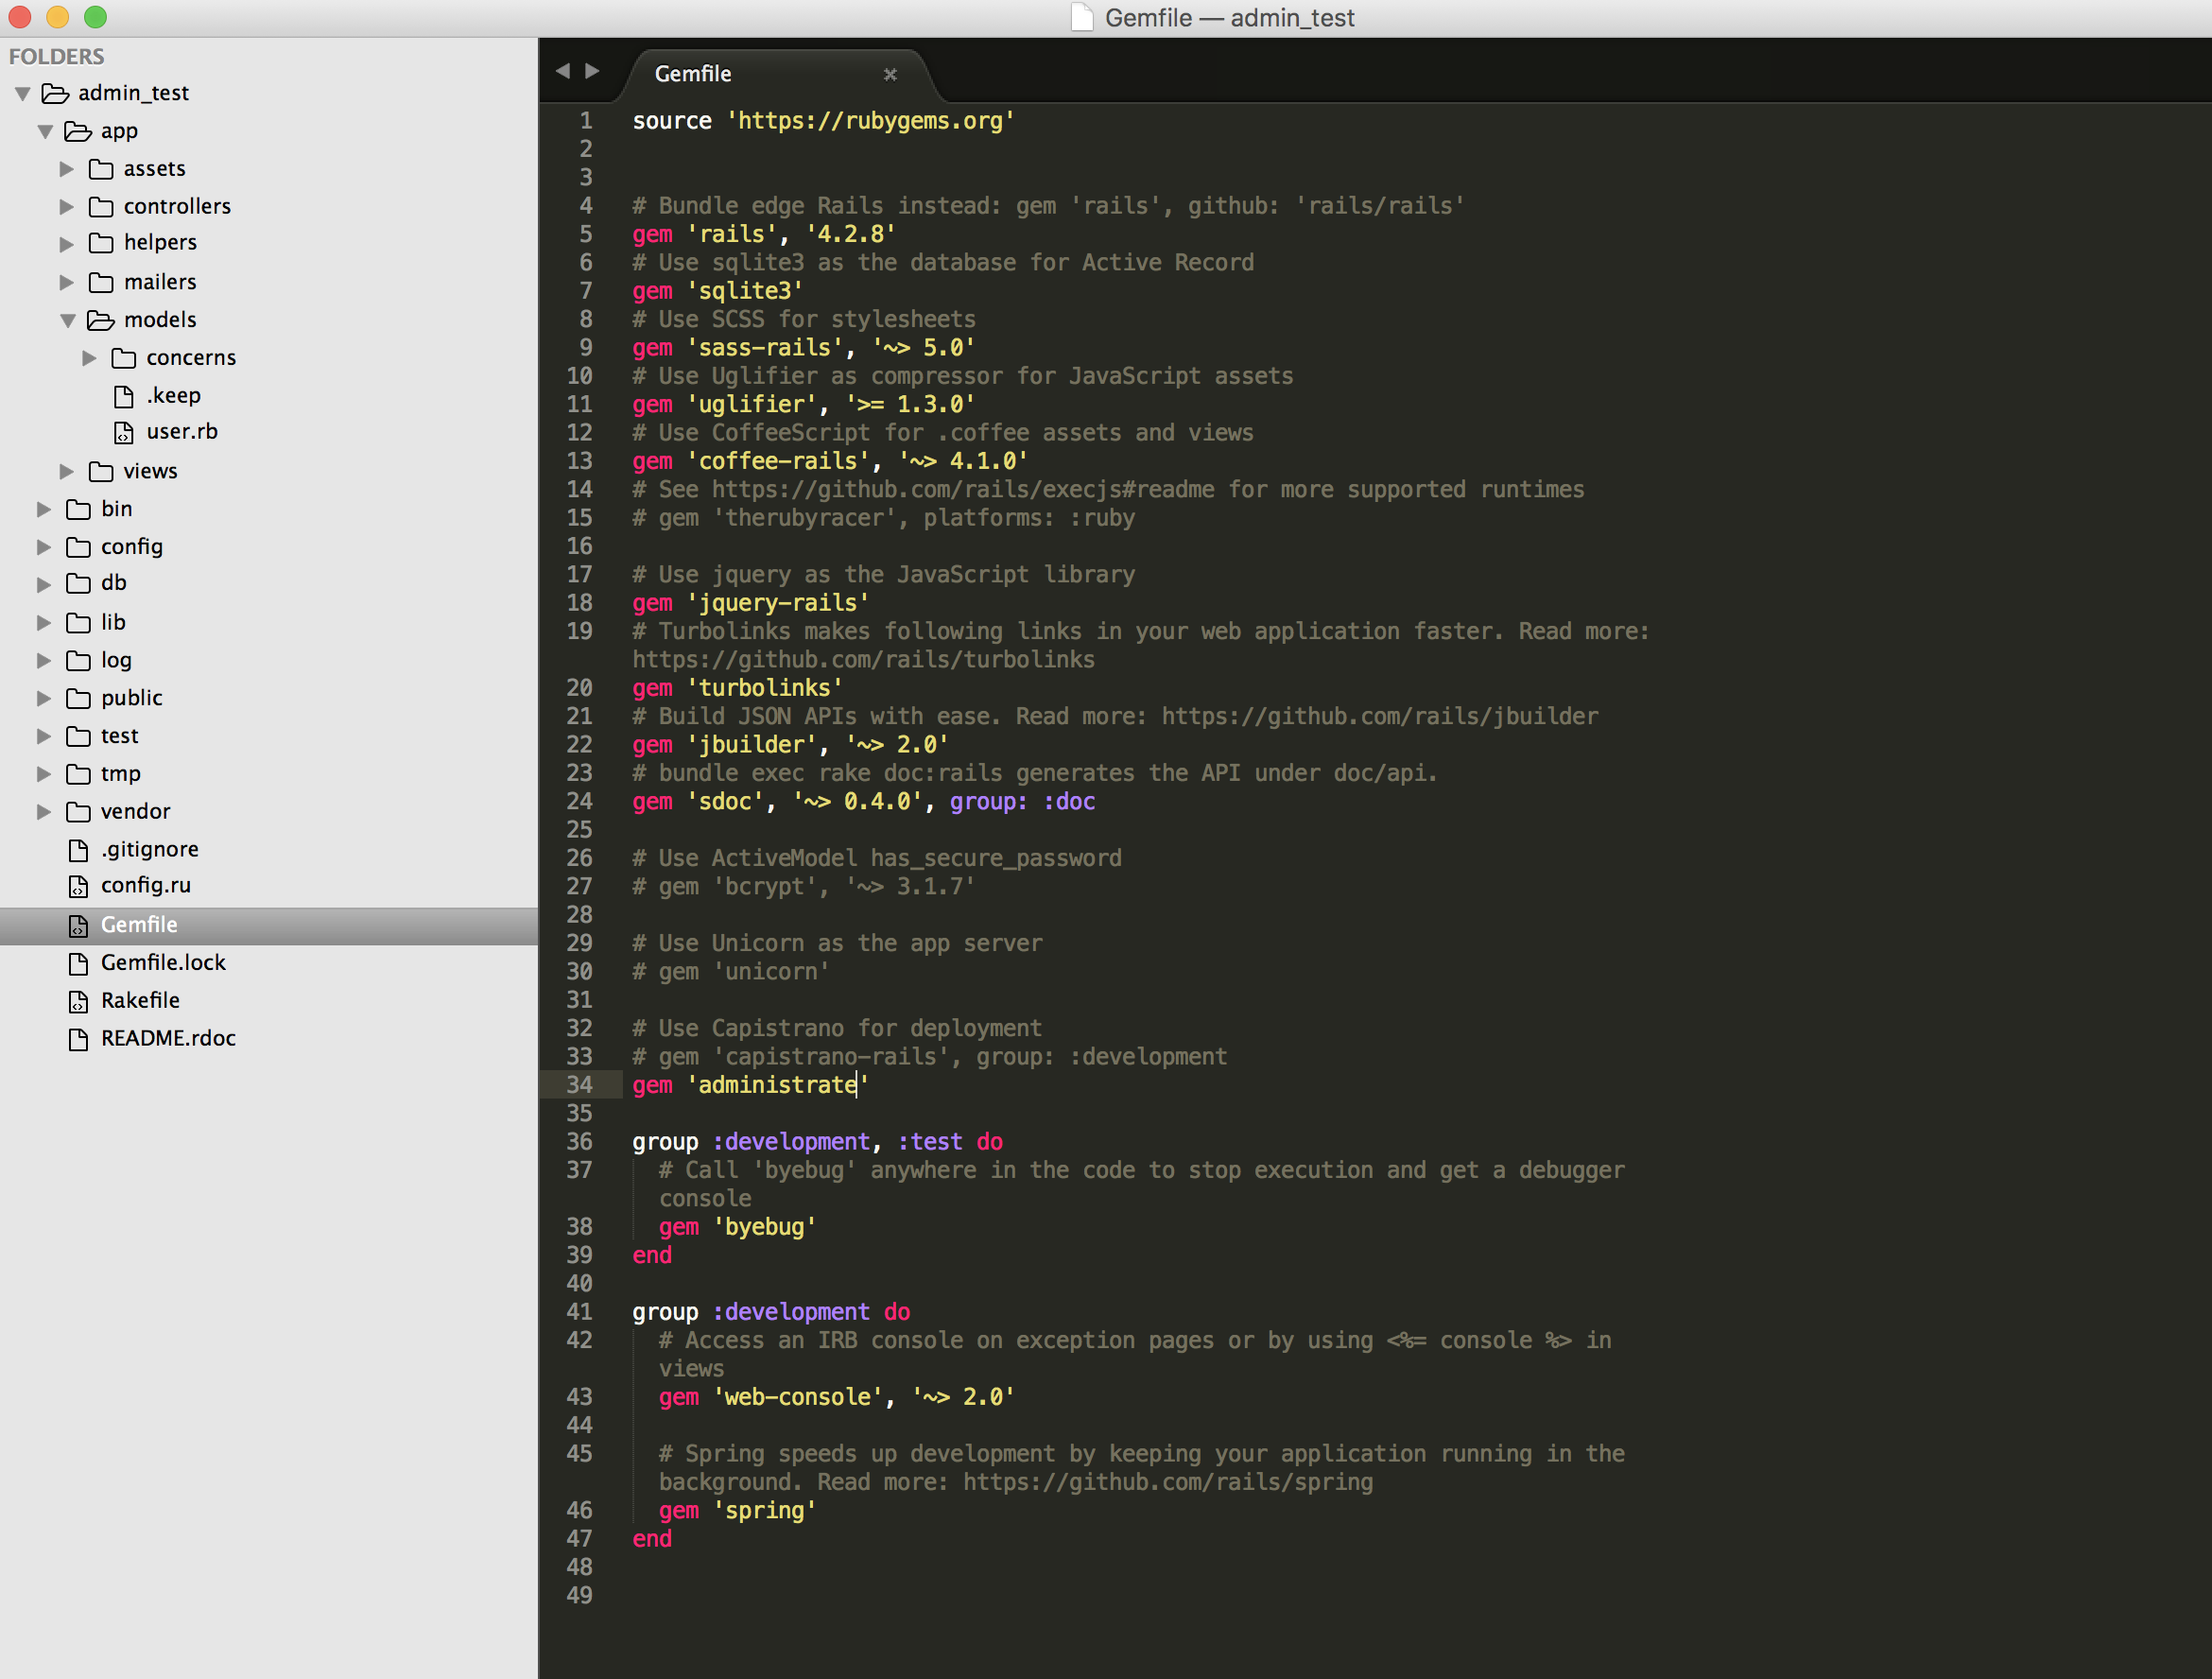
First add the Administrate gem to your Rail application’s Gemfile (should be located in the admin_test root directory). Your Gemfile should now look like the one below.
Go back to your terminal and run:
bundle install
This will look through your Gemfile and check to ensure everything you have required is installed. At this point you should see Administrate installed within all of the commands bundle ran. Next we need to actually install administrate for use within our app. Go ahead and type this:
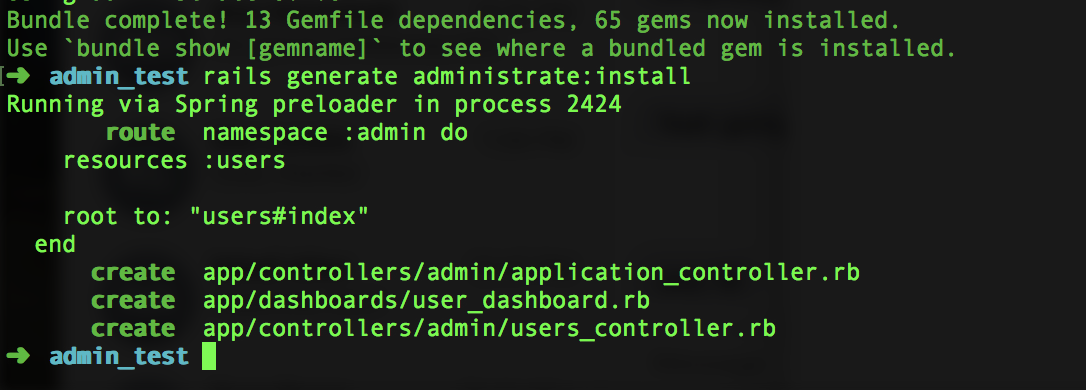
rails generate administrate:install
That will setup your initial Administrate dashboards with default settings. Go ahead and run your Rails server using:
rails s
With your Rails server running successfully, point your browser to http://localhost:3000/admin (3000 is the Rails’ default local port) and you should see a basic Administrate dashboard for the User model like below!
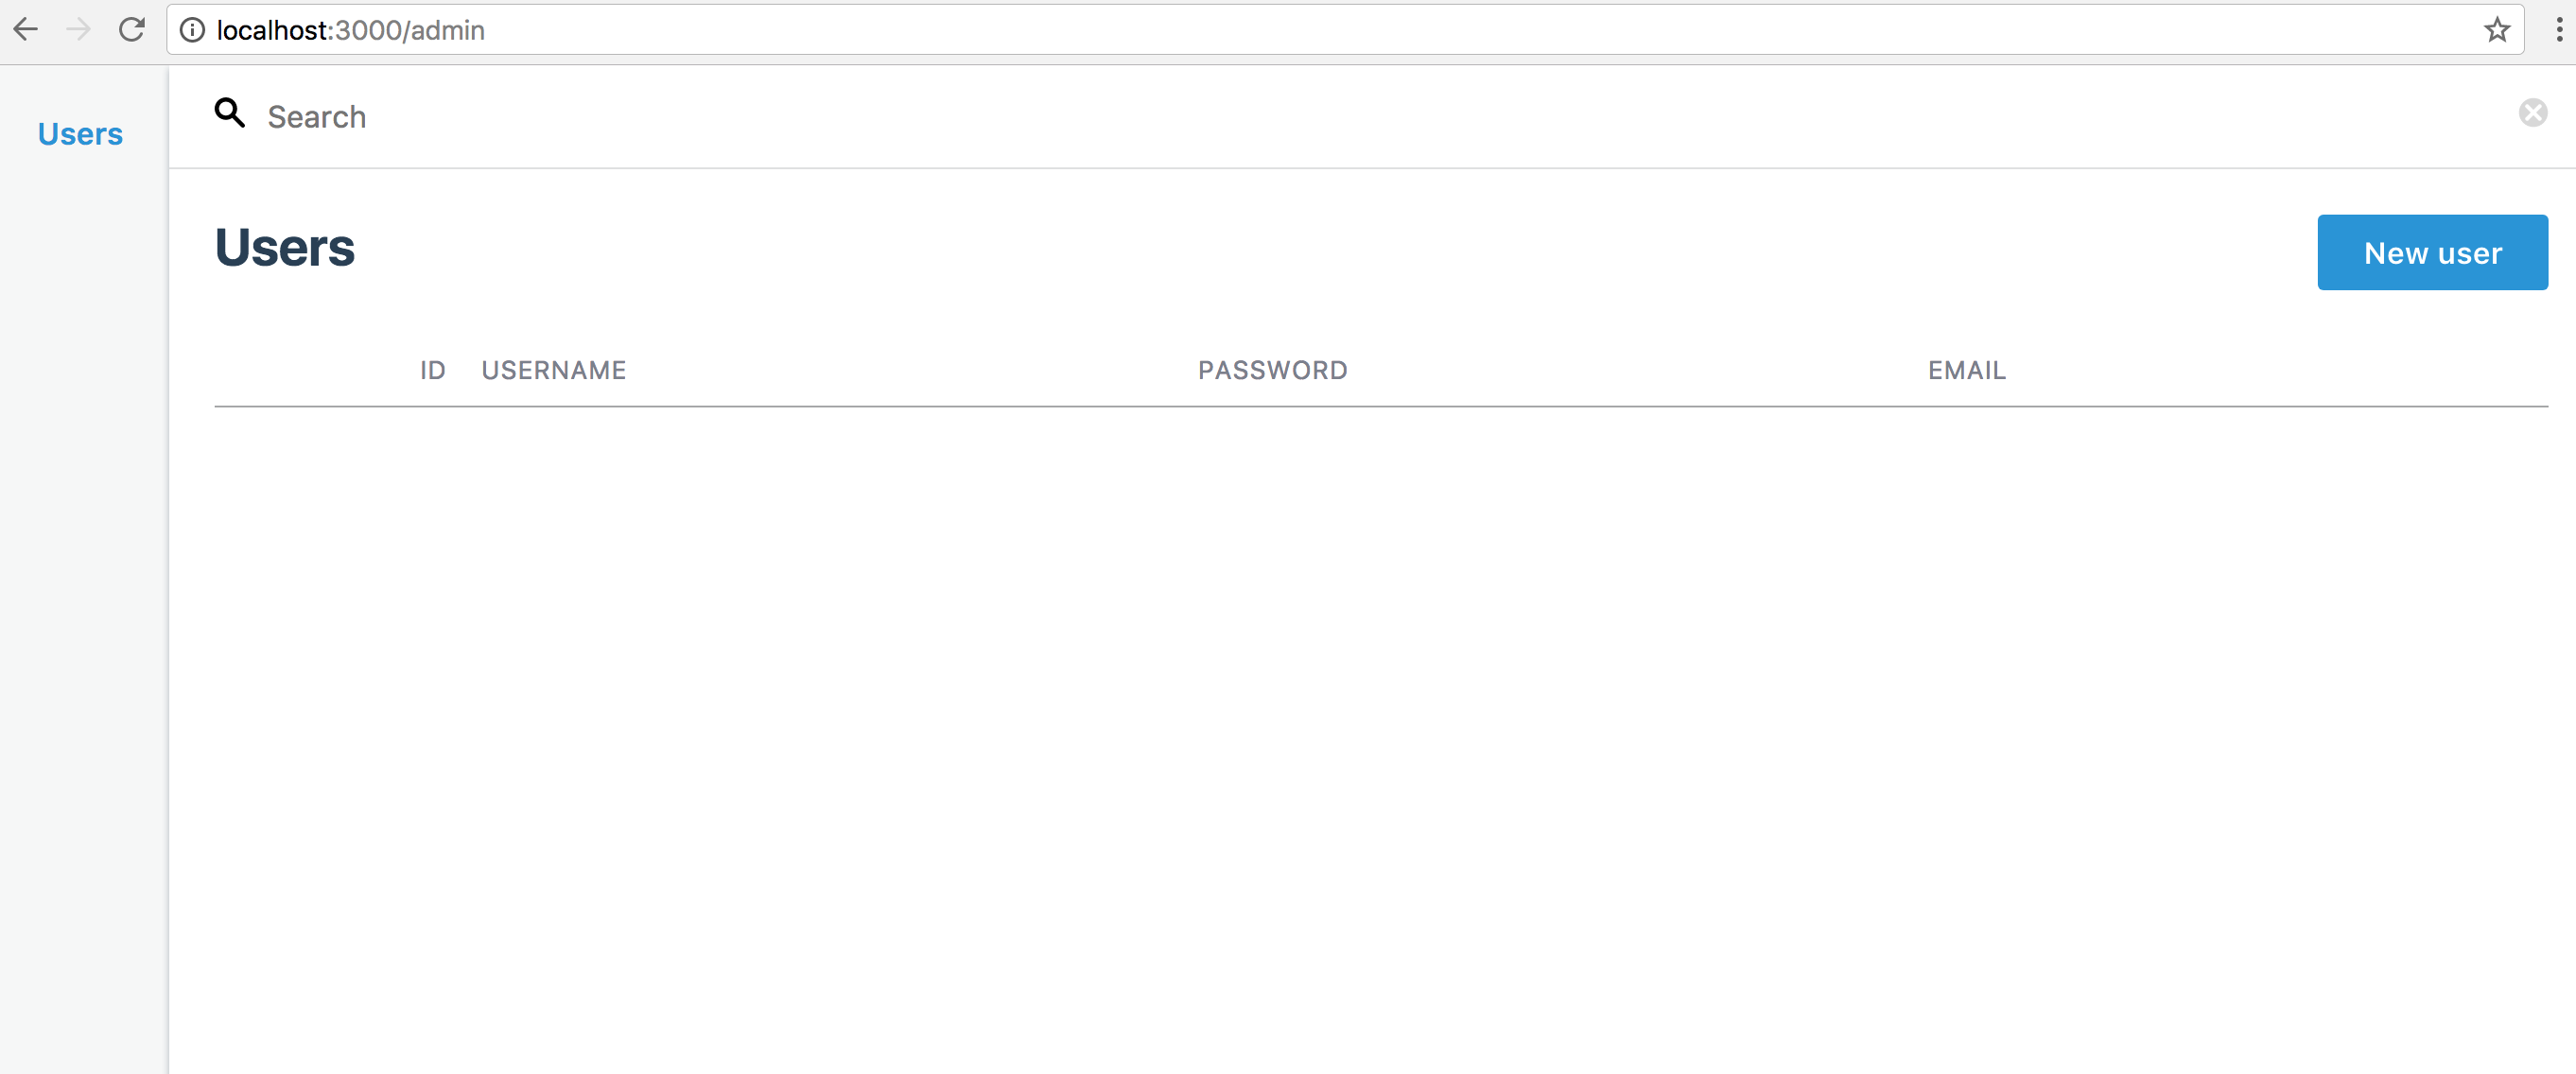
That’s it! You can now add Users to your Users table using Administrate. Along with the power of Ruby on Rails, you can now build a strong administration interface for any web application. Check out the offical Administrate GitHub repo to get started with more!